
































Need quick, cute hairstyles for long hair? These 10 effortless looks come together in minutes—perfect for busy mornings. Plus, the right overnight products can help reduce frizz , so you wake up with hair that’s ready to style.
1. How to Style: The Messy Bun
A messy bun is the perfect on-the-go style. It's easy to do, looks super cute, and takes 5 minutes of your morning—leaving spare time for a coffee run!
-
Step 1. Have day-old hair? Don't sweat it. Messy buns work best with a bit of texture. If your hair feels too smooth, spritz with a texturizing spray.
-
Step 2. Gather your hair into a loose ponytail at the crown of the head. Secure with a Blissy Skinny Scrunchie, which won't dent or crease your hair. Don't worry about making it perfect—the messier the better.
-
Step 3. Twist your ponytail gently before wrapping it around the base. Make sure it isn't too tight.
-
Step 4. Tuck the ends of the twisted hair underneath the bun. Then, use bobby pins to hold everything in place, but don’t go overboard.
-
Step 5. Fluff it up. Use your fingers to gently pull at the bun and crown to create volume. Tug a few strands loose at the front to frame your face.
-
Step 6. For a carefree "I woke up like this" vibe, you're done. If you want a bit more polish, spray with a light-hold hairspray.
2. How to Style: The Half-Up Twist (No Bobby Pins)
Half-up styles are perfect when you want to wear your hair down but don't have the time (or energy) to spend styling all your long, luscious locks. Switch out your usual half ponytail for this elegant look.
-
Step 1. Start with loose, natural hair. Whether you have straight, wavy, or curly hair, this style works best with a bit of texture. If needed, apply dry shampoo.
-
Step 2. Use a comb to section your hair. Take two small sections of hair from each side of your face, near the temples.
-
Step 3. Twist away! Work on one side at a time, wrapping each strand around the other. Twist back from your face. Keep them slightly loose for a soft look.
-
Step 4. Join the twists. Pull both twisted sections toward the back of your head and overlap them. Tie them together with a small elastic.
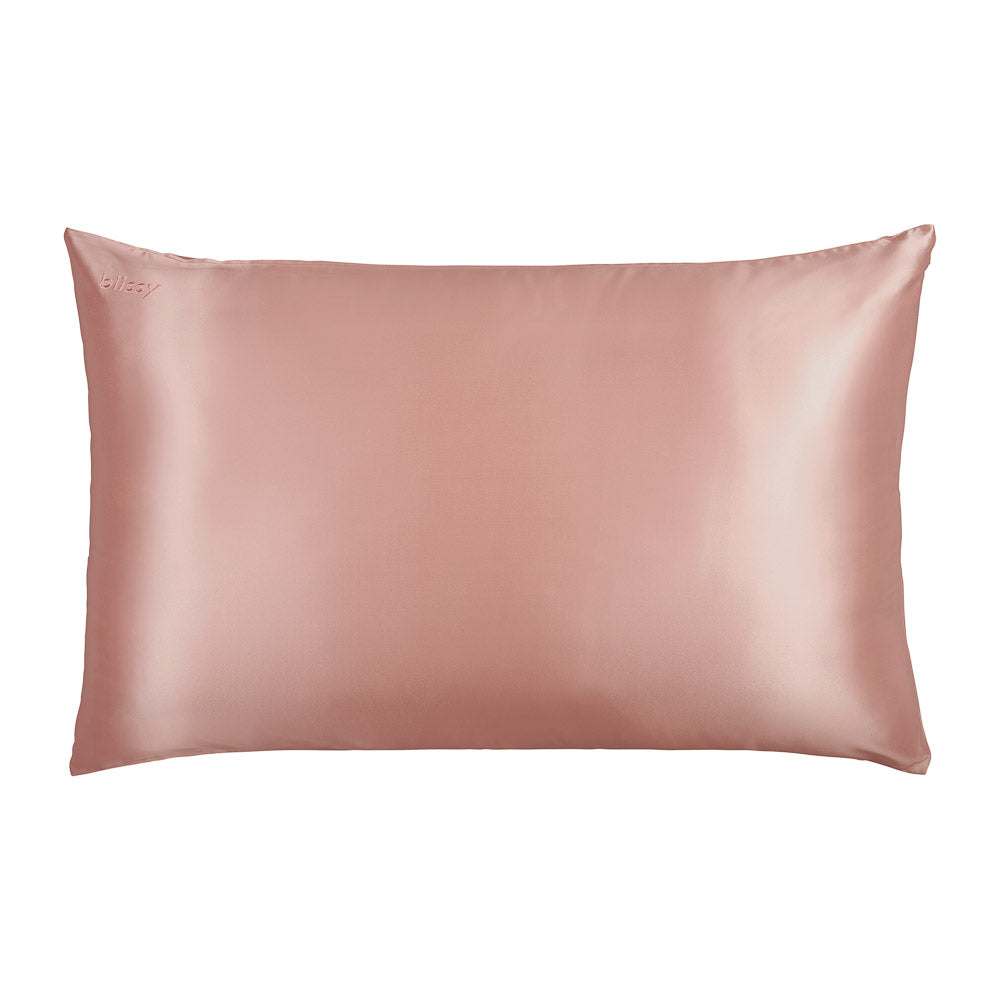
Pro Tip: This look relies on healthy hair for a flawless finish. Sleep on a Blissy Silk Pillowcase for smooth, shiny, frizz-free hair.



3. How to Style: The Braided Ponytail
Tired of pulling your hair into a tight, high ponytail? Opt for this versatile, hair-healthy alternative that won't tug at your scalp. This gorgeous braided pony is an easy protective style.
-
Step 1. Prep your hair by gently brushing to remove tangles. Spray lightly with dry shampoo to help the braid hold better.
-
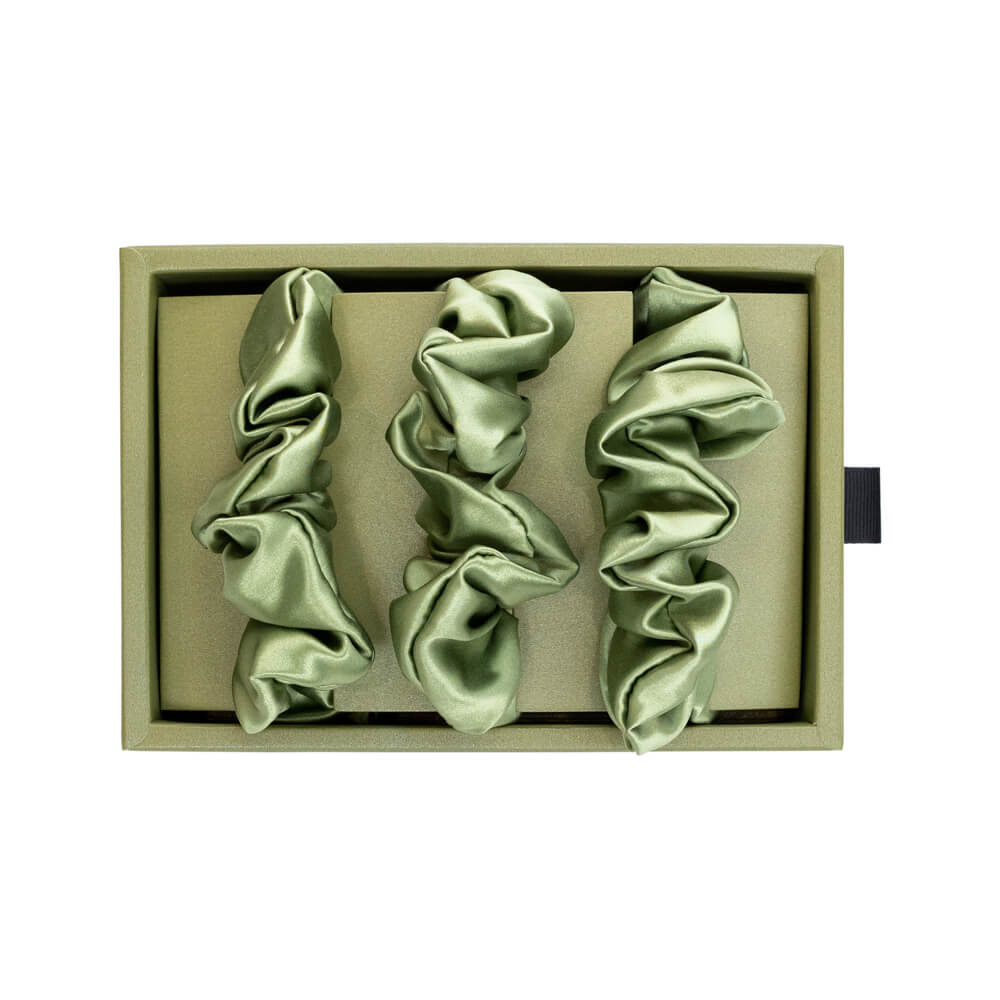
Step 2. Gather your hair into a high ponytail. Secure the pony with a mulberry silk Blissy Scrunchie, which won't tug or break your hair during a busy day. (If you are using extensions, clip them in now).
-
Step 3. Divide your ponytail into three equal sections for a classic braid. Braid the three strands—left over middle, right over middle, repeat.
-
Step 4. Tie the braid off with a small elastic. For a more relaxed, fuller look, gently pull apart the braid. And voilà!


4. How to Style: The Fishtail / Low Ponytail Combo
This combo takes two easy hairstyles for long hair and pairs them for a look that's effortless but photo-ready. It works best with a bit of natural texture, so second-day or wavy hair is ideal here.
-
Step 1. Gather your hair into a relaxed, low ponytail at the nape of your neck. Leave it slightly loose rather than pulling it tight—this style thrives on movement.
-
Step 2. Secure the base with a Blissy Scrunchie, which won't crease or tug at your strands.
-
Step 3. Divide the ponytail into two sections. Starting at the top, take a small piece from the outer edge of one section and cross it into the other, then repeat on the opposite side—this is the fishtail technique.
-
Step 4. Continue alternating sides, working your way down about halfway (or further, if you want more braid than pony). Keep the braid loose for a soft, undone look rather than pulling each cross tight.
-
Step 5. Secure the end of the braid with a small elastic, then let the remaining hair fall loose into the ponytail below it.
-
Step 6. Gently tug at the fishtail sections to loosen and add volume, and fluff the loose ends for a wavy, lived-in finish.
Pro Tip: This style shows off texture, so healthy, hydrated hair is key. Sleeping on a Blissy Silk Pillowcase helps reduce friction overnight, keeping waves soft and frizz-free for a braid that looks effortless instead of flat.
5. How to Style: The Slicked-Back Bubble Braid
This is your sign to try a new, chic style! Bubble braids are super on-trend—they're one of our favorite easy hairstyles for long hair.
-
Step 1. Detangle hair. Gather a handful of small elastics. If you have thick or curly hair, you can use several Blissy Skinny Scrunchies instead. They'll provide gentle hold with a classy touch.
-
Step 2. Start with a small section of hair at the crown, like you're starting a French braid. Secure it with an elastic.
-
Step 3. A few inches down, add another hair tie. Gently pull apart the hair between the two ties to form a round, airy bubble.
-
Step 4. Add more hair as you go. Grab a new section of hair from each side to add to the existing ponytail. Secure with a hair tie a few inches down, then puff out to create another bubble.
-
Step 5. Repeat! When you run out of hair to add, still place elastics every few inches down the remaining pony and bubble them out.
-
Step 6. Secure and style. Tug on the bubbles to make them full and even. Spritz with light-hold hairspray. And that's it—a style that looks intricate but is quick and easy!

6. How to Style: The Sleek Low Bun
No time for a French twist? This is one of the quickest, easiest hairstyles for long hair. But, you won't have to sacrifice looking polished. This effortless style is elegant and flexible.
-
Step 1. Detangle your hair and choose how you'd like to part it. This updo looks beautiful with either a center or side part.
-
Step 2. Apply a smoothing serum or lightweight gel to tame flyaways. Use a fine-toothed comb to distribute the product evenly.
-
Step 3. Gather your hair into a low pony at the nape of the neck. Secure tightly with a hair tie. Smooth out any bumps with a comb.
-
Step 4. Twist the ponytail, then wrap it around the base to form a bun. Keep it snug and close to the head for a clean, sleek look.
-
Step 5. Pin the bun in place with bobby pins, crisscrossing them for extra hold if you have long, thick hair. Spritz with hairspray or smooth over with gel for an ultra-polished finish. Easy, right?
7. How to Style: Elegant Long Layers with Curtain Bangs
This heatless wave technique is your new go-to for busy mornings. Style while you sleep and wake up to gorgeous, effortless waves that look like you spent hours on them!
-
Step 1. Start with damp hair. Dry hair won't hold the waves well, and wet hair won't dry overnight. Comb a curl-enhancing cream through your hair to help set and smooth waves.
-
Step 2. Split your hair into two sections and braid each one loosely. The looser the braid, the softer the waves. Secure the ends with Blissy Silk Scrunchies to avoid creasing.
-
Step 3. Before bed, slip on a luxurious, mulberry silk Blissy Bonnet. It'll preserve your style overnight, reducing frizz and bedhead, so styling is a breeze in the morning.
-
Step 4. When you wake up, remove your bonnet and gently undo your braids. Run your fingers or a wide-toothed comb through your hair for soft, relaxed waves. Finish with a light hair oil for shine. And that’s it—fabulous waves made easy overnight.
8. How to Style: The Claw Clip Updo
<
-
Step 1. Start with dry hair. Prep your hair overnight by sleeping on a Blissy Silk Pillowcase—it reduces friction on hair strands for glamorous, glossy hair.
-
Step 2. Pull your hair back into a low, mid, or high pony, but don't fasten it. Leave out some face-framing pieces for a messy-chic look.
-
Step 3. Twist the ponytail upward and fold the ends down if they're long. Hold the twist against your head then clamp the claw clip over it. Make sure it's secure.
-
Step 4. Gently tug at the crown for a bit of volume. And...that's it! An easy posh updo in seconds.
9. How to Style: The Chic Side Braid with Side Part
Braids are popular easy hairstyles for long hair for a reason. They're stylish, versatile, protective, and simple. Retire your traditional braid for a fun side braid instead.
-
Step 1. Start with dry or slightly damp hair. Apply a light mousse for hold. Create a side part—the deeper the part, the bigger the drama.
-
Step 2. Collect your hair to one side of your head, gathering it just behind your ear so it falls naturally over your shoulder. Start braiding your hair in a classic three-strand braid, or a rope braid if you want to switch it up.
-
Step 3. Secure the end with an elegant Blissy Pearl Scrunchie. And there you have it—a sophisticated side braid for any occasion.
10. How to Style: The Faux Fishtail Braid
This style looks gorgeous on thick, long hair. It has the intricate look of a fishtail braid but is way simpler to pull off.
-
Step 1. Gather your hair into a relaxed, low ponytail.
-
Step 2. Bring two pieces from the outside to the middle and secure with a small elastic. Flip the hair inside-out over the elastic.
-
Step 3. Repeat Step 2 until you've made it to the end of the "braid." Fasten with a Blissy Oversized Scrunchie for a glamorous look.
-
Step 4. Go back and fluff out each section for a messier, voluminous faux fishtail.

11. How to Style: The Twisted Crown with Middle Part
A twisted crown looks complex, but it’s easy once you break it down. You'll have an intricate and elegant-looking style without all the trouble.
-
Step 1. Take a small section of hair at the front on each side of your part, about 2-3 inches wide.
-
Step 2. Twist each section away from your face, toward the back of your head. As you twist, add in pieces from the rest of your hair, similar to how you would French braid.
-
Step 3. Once all hair is worked into the two twisted sections, cross them over each other at the back of your head. Secure the twists with decorative pins for added glam. Tuck any flyaways under the twists, pin them, and you're done!
3 Ways to Make Hairstyles Last Longer
These easy hairstyles for long hair last even longer with a few simple tricks:
- Nourish hair and avoid heat damage—after braiding, slip on a Blissy Bonnet before bed. Smoother hair = more manageable, frizz-free morning waves.
- Sleep on a Blissy Silk Pillowcase to extend time between washes. Silk reduces friction, keeping your hair hydrated, breakage-free, and more manageable.
- Gently style your hair with silk scrunchies to minimize breakage and preserve your look.
Want to Create Cute Hairstyles Easily?
Whether styling with a claw clip or trying something new, like trendy space buns, these easy hairstyles for long hair look fabulous fast! Upgrade your haircare routine with silk for even more effortless styling and smoother, healthier hair.
Ready to say goodbye to bed head? Explore Blissy's premium silk products here.


